
How This A-Frame Trellis Was Made
Step 1: Planning
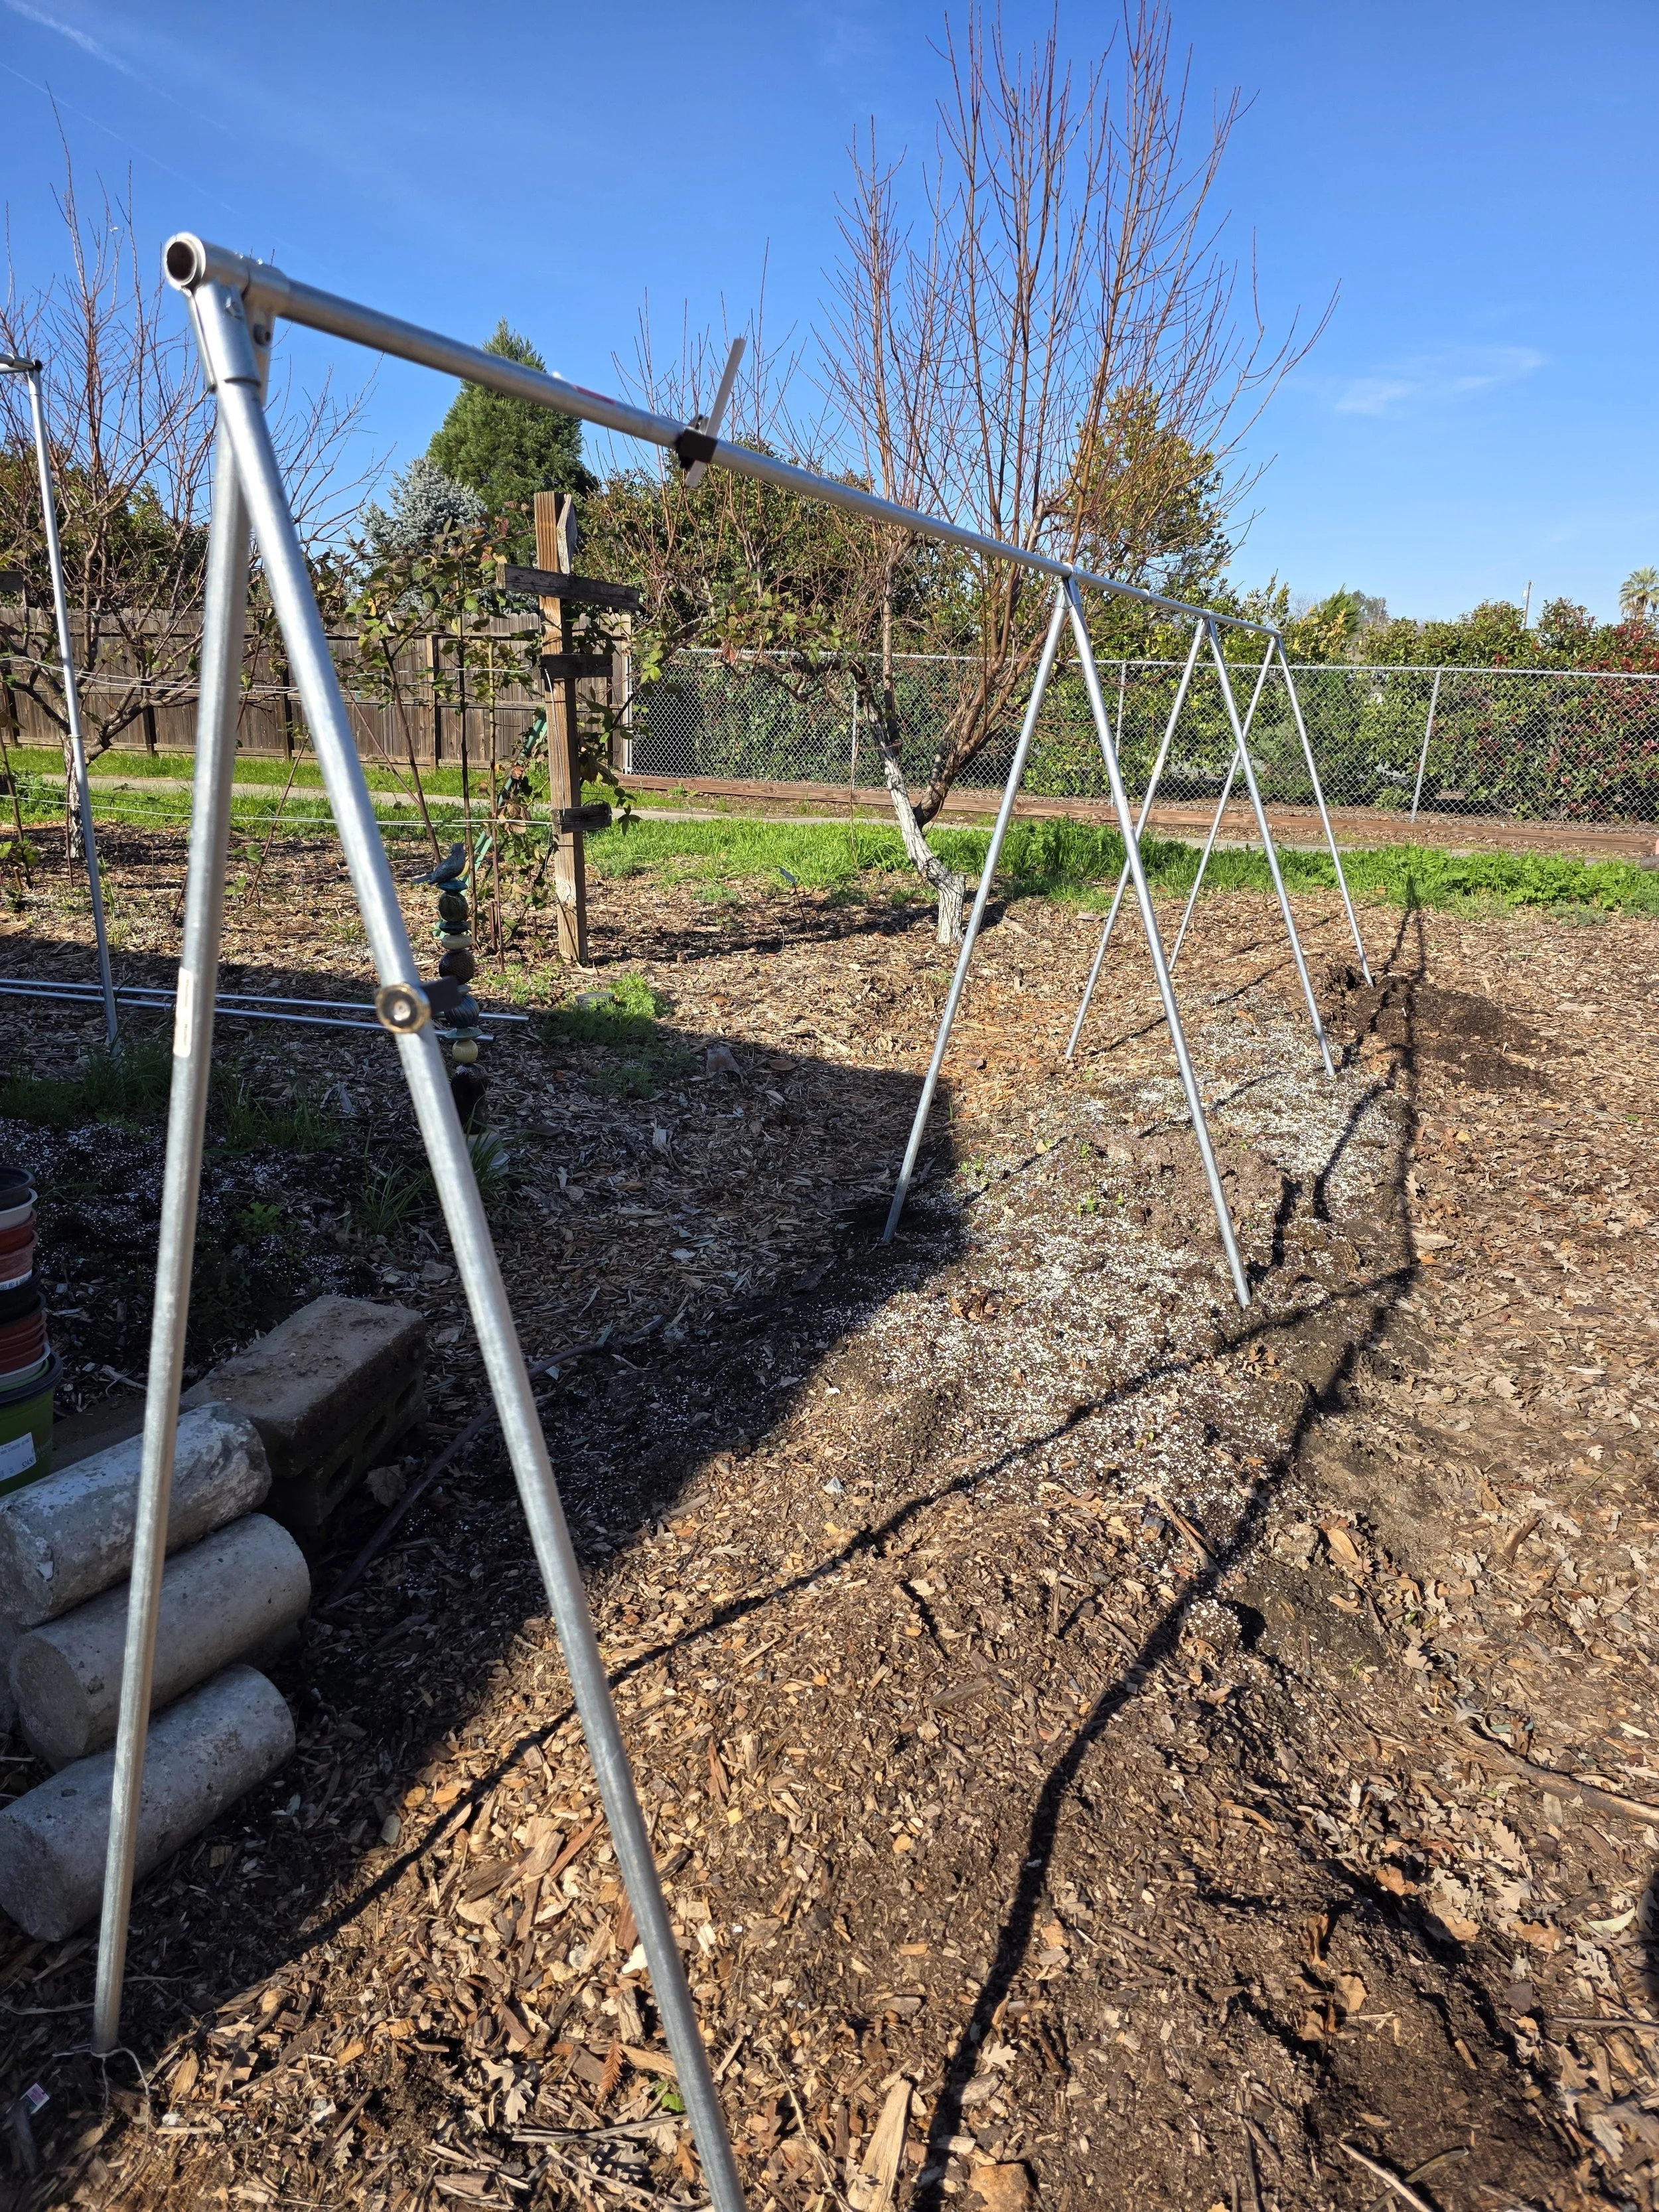
For this trellis, a 15’ long, 5’ high and 2.5’ wide A-Frame trellis was selected.
This guide includes affiliate links to tools and materials we personally recommend. If you purchase through them, we may earn a small commission at no extra cost to you.
All of the listed tools and parts can be found on our Parts page.
Tools:
Hex wrench / Allen Key
Handheld tubing cutter
Hammer
Materials:
6 x 10’ lengths of 3/4” EMT
8 x 3/4” EMT Tee Connectors
1 x 3/4” EMT Coupling
8 x Concrete Form Stakes
8 x Various Sized Screws
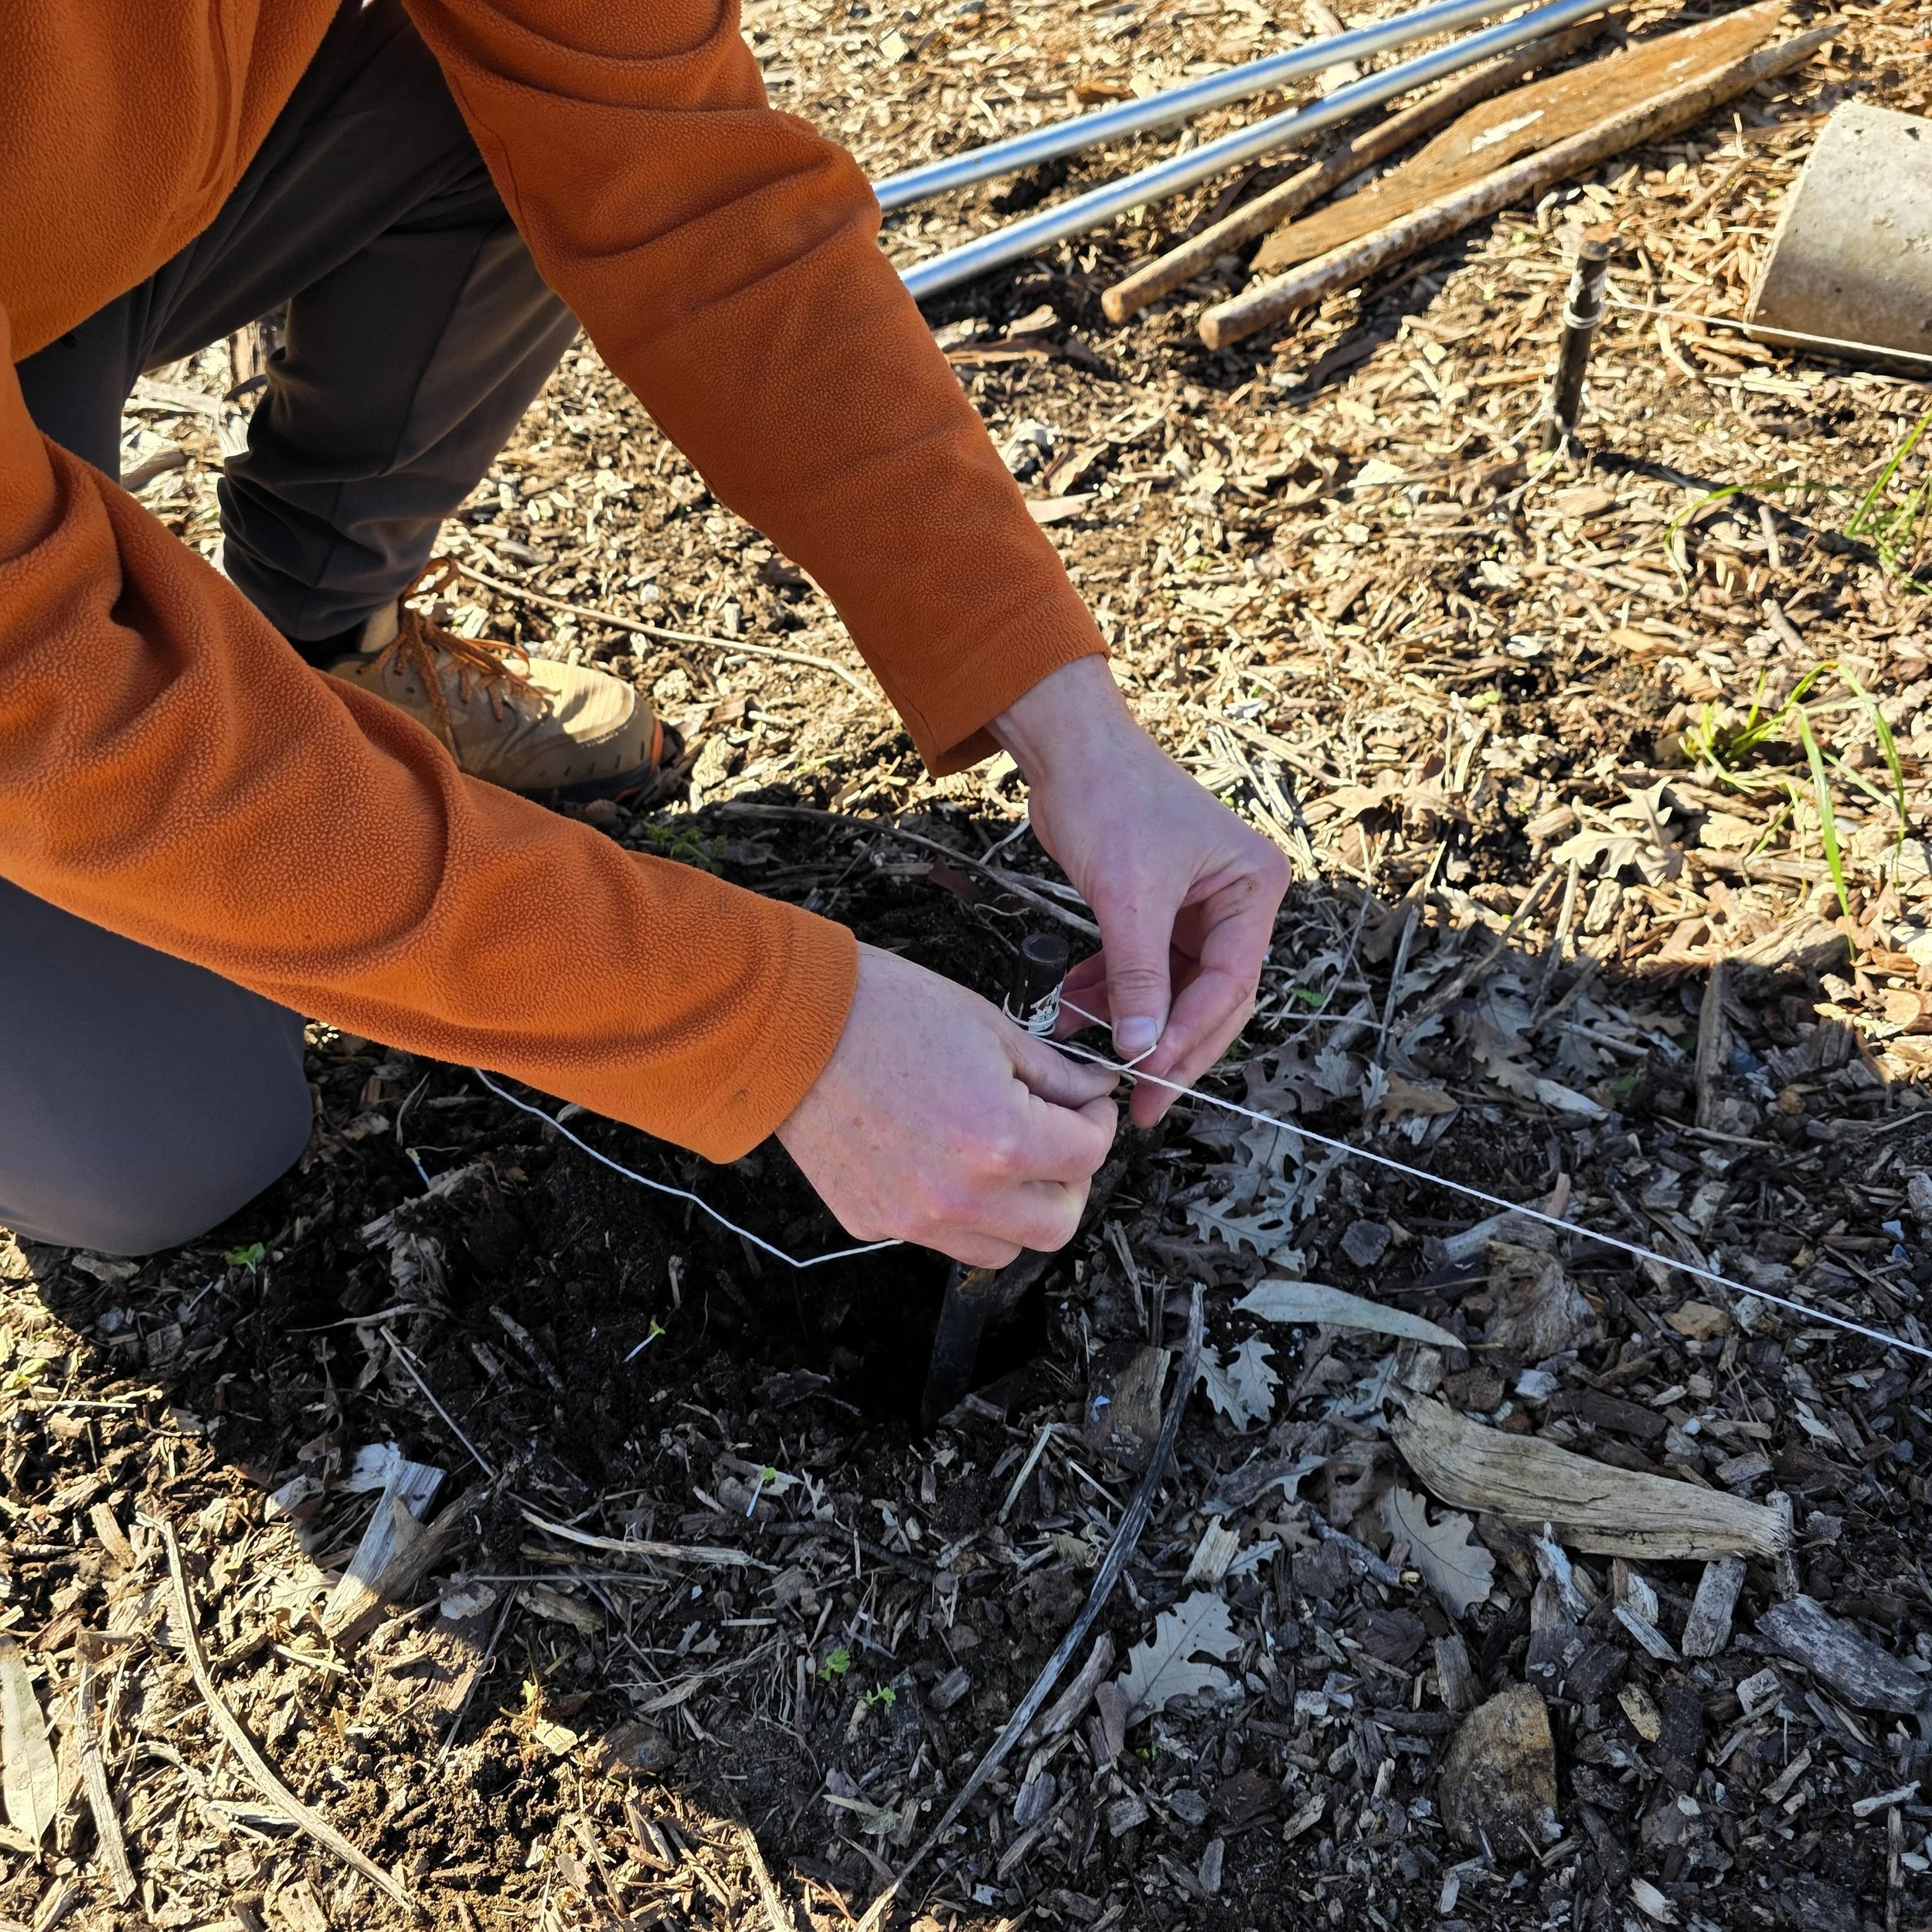
Step 2: Layout
Stakes were placed in the ground at the ends of trellis. A string line was tied between the stakes, creating a straight reference line.
Stakes were placed every 5’ along each of the string lines.
Step 3: Measure and Cut EMT
EMT was cut into 5’ lengths with a handheld tubing cutter.
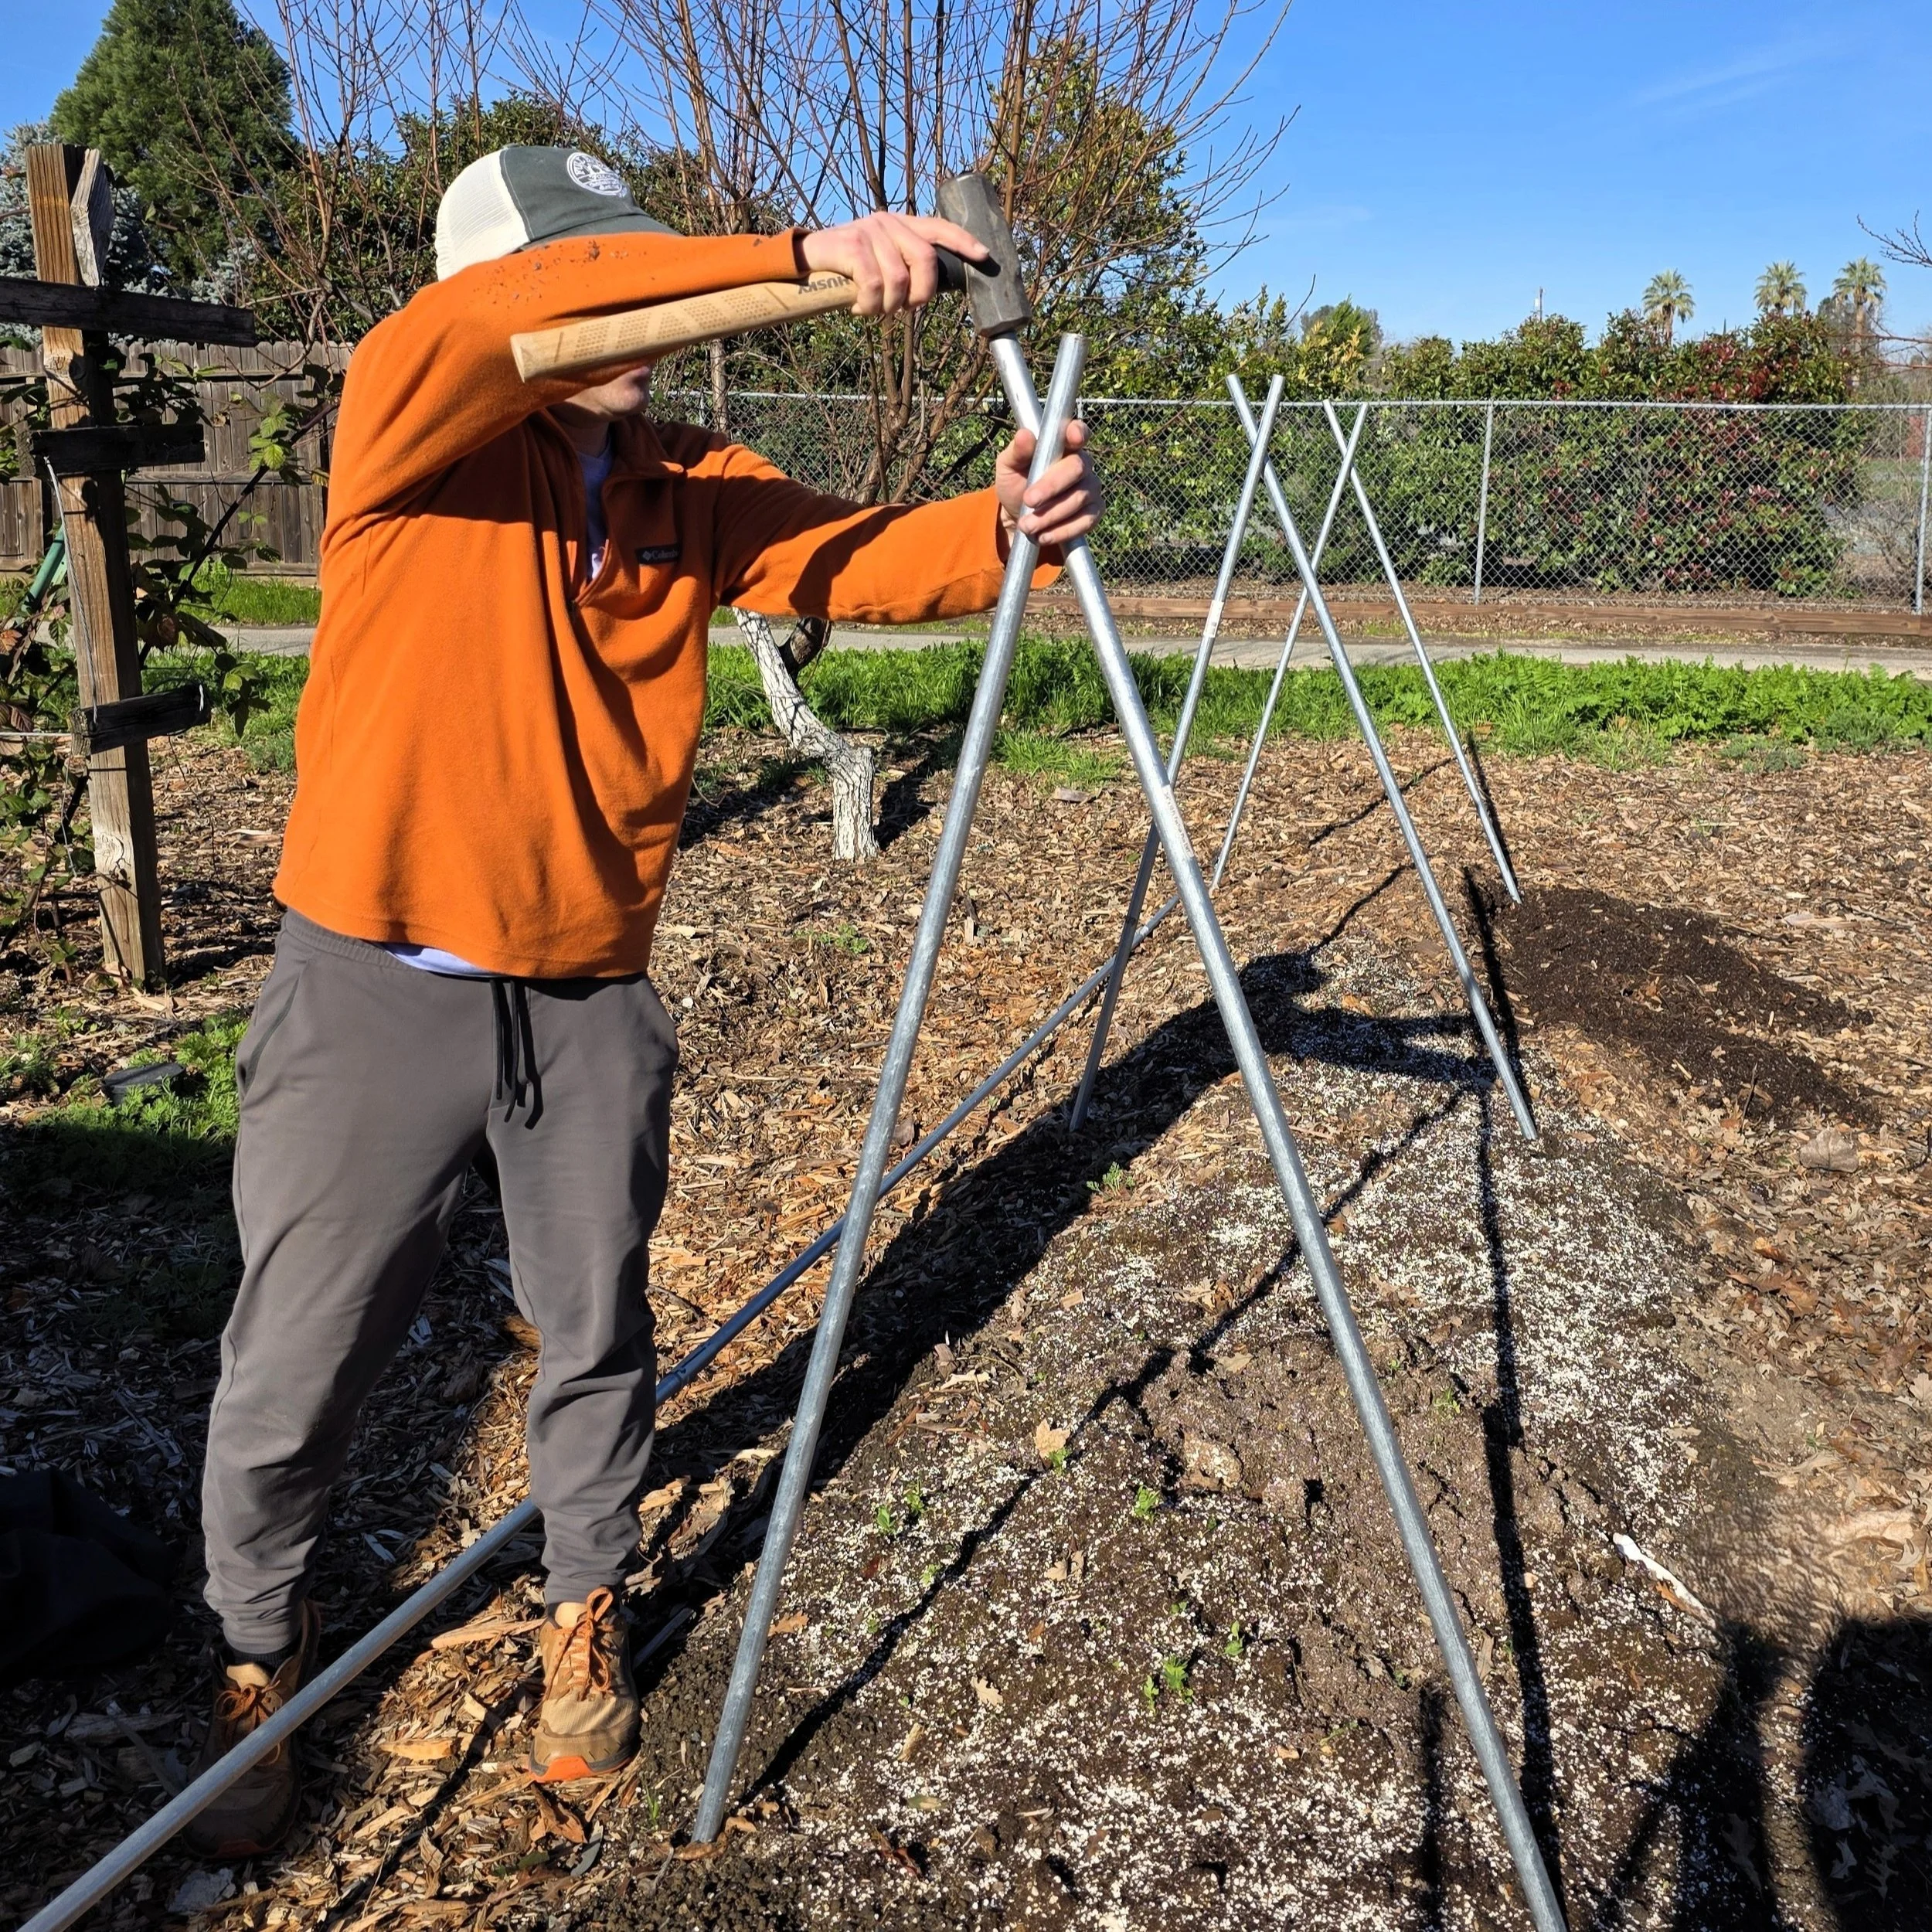
Step 4: Slide EMT on Stakes
Screws were added into the stakes (see details and other options here).
5’ lengths of EMT were slid over the stakes.
EMT was leveled from the top with a hammer.
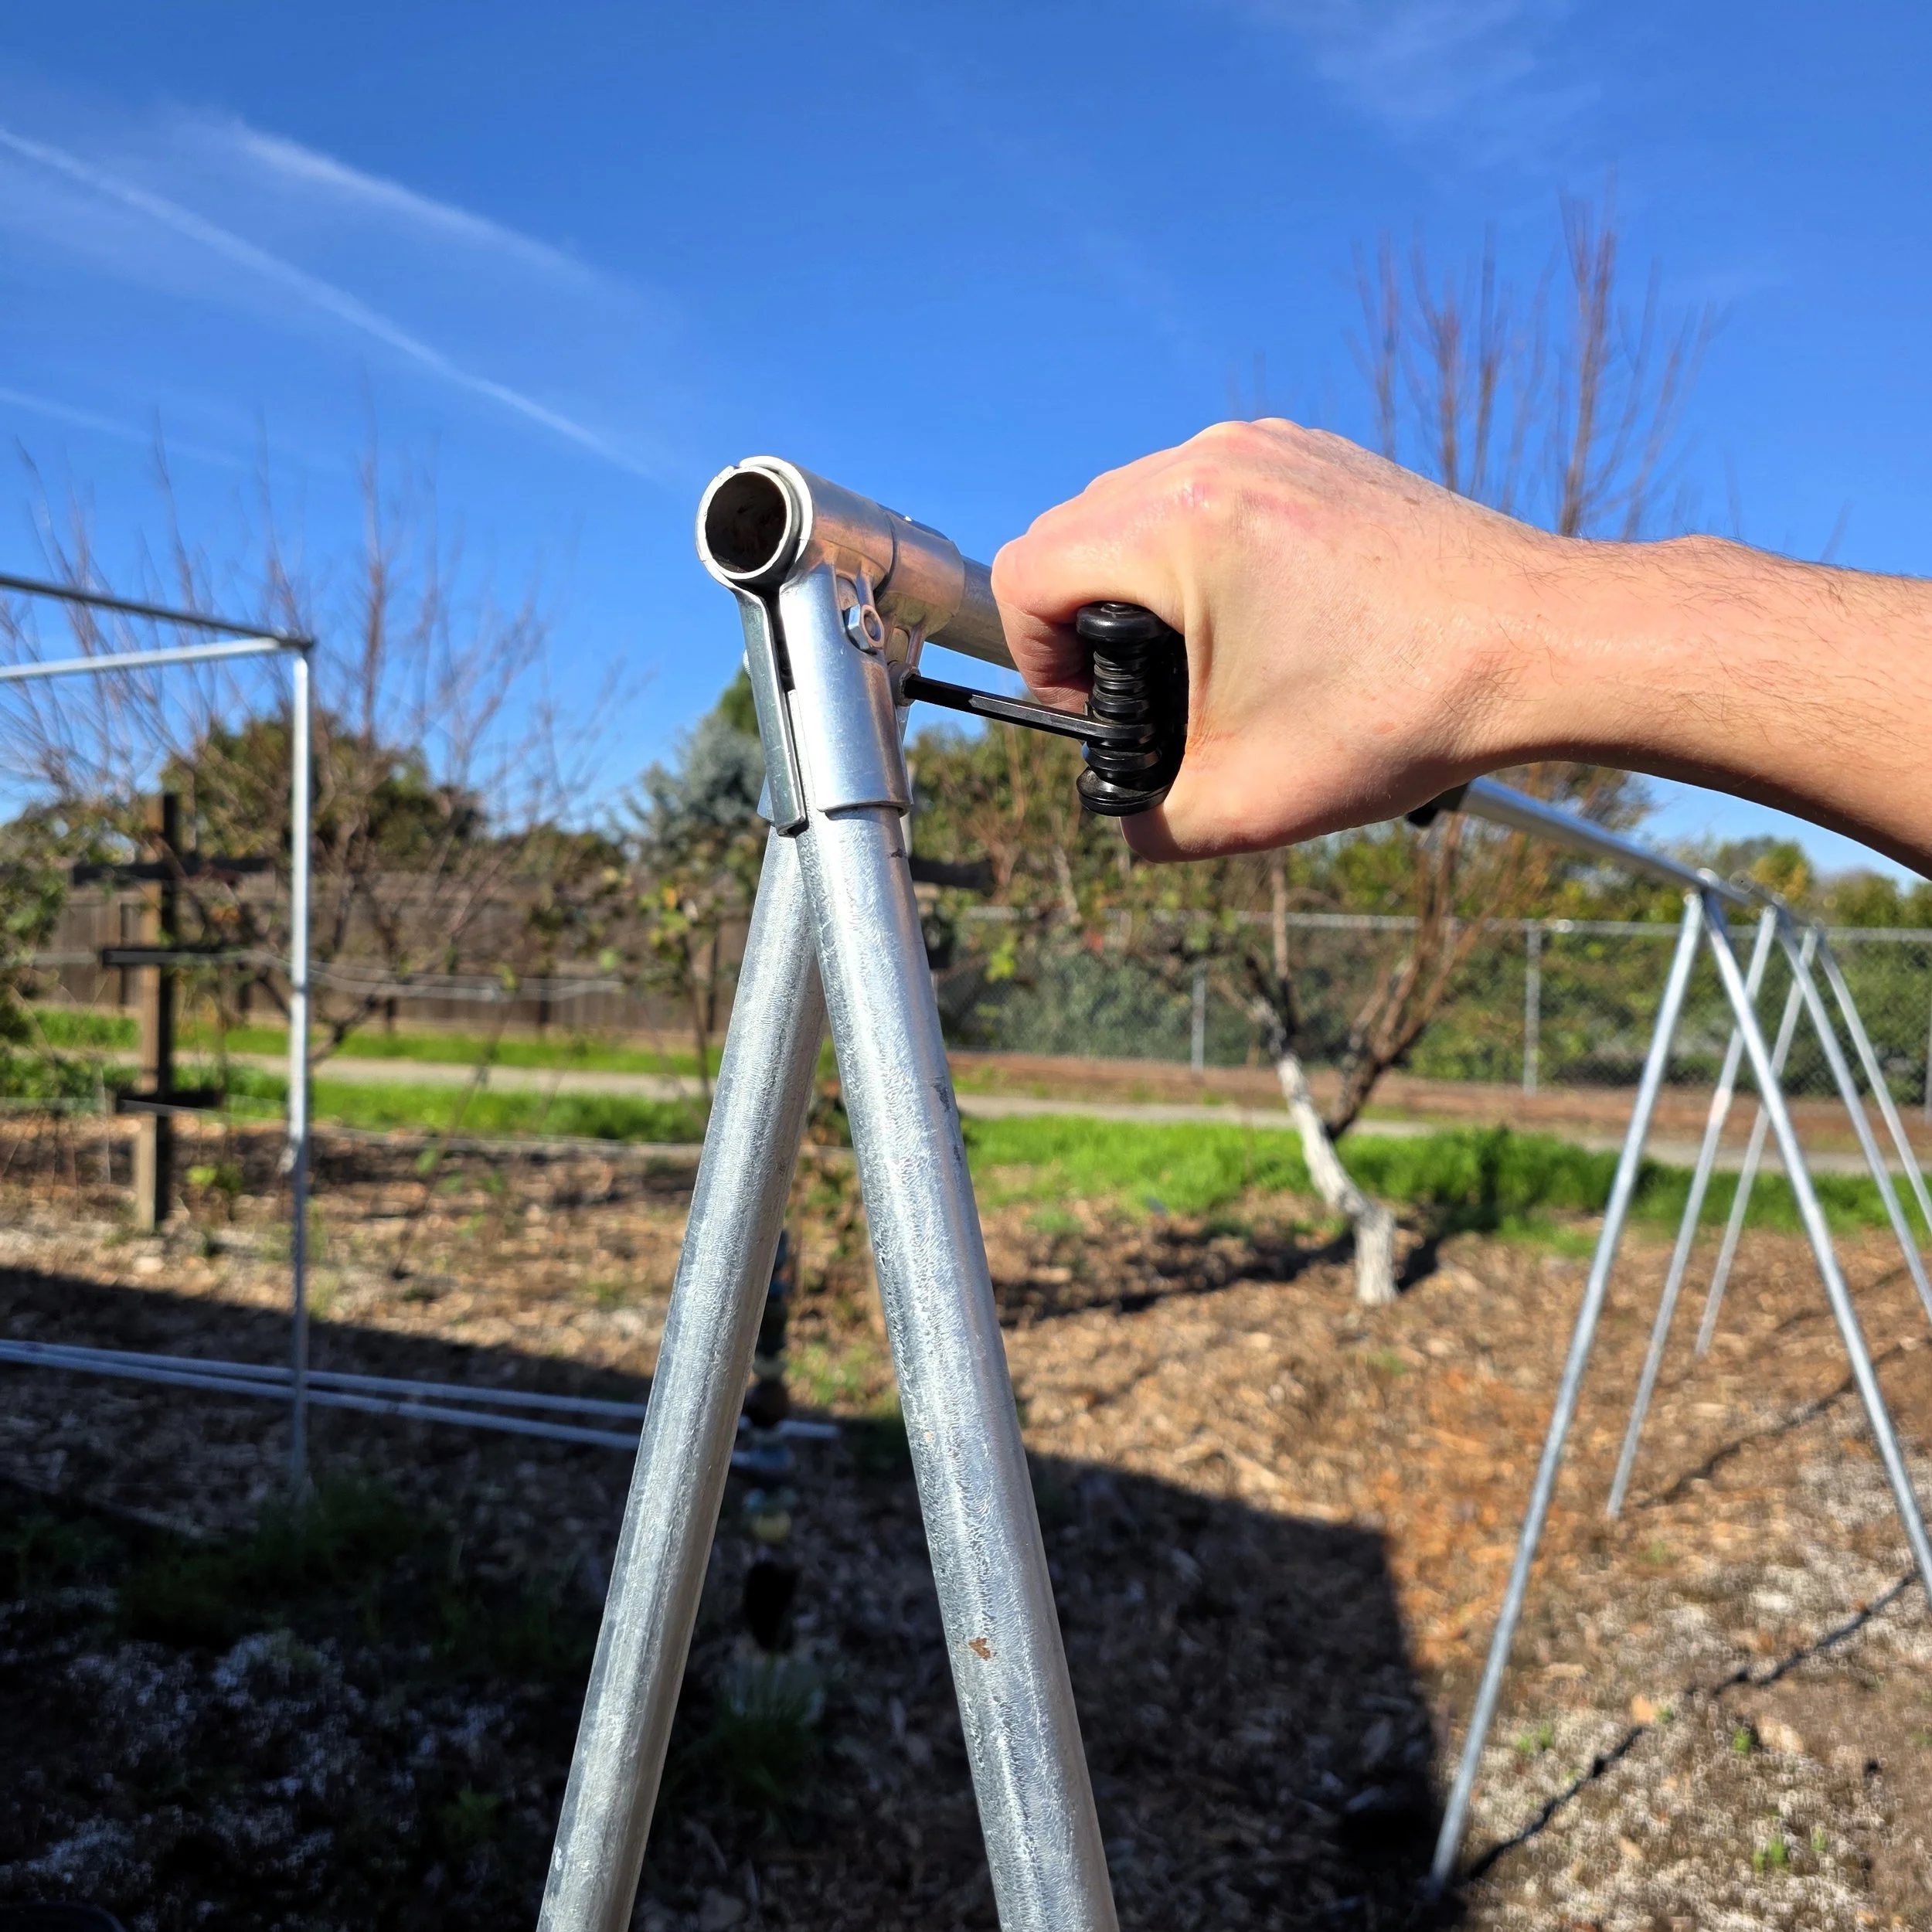
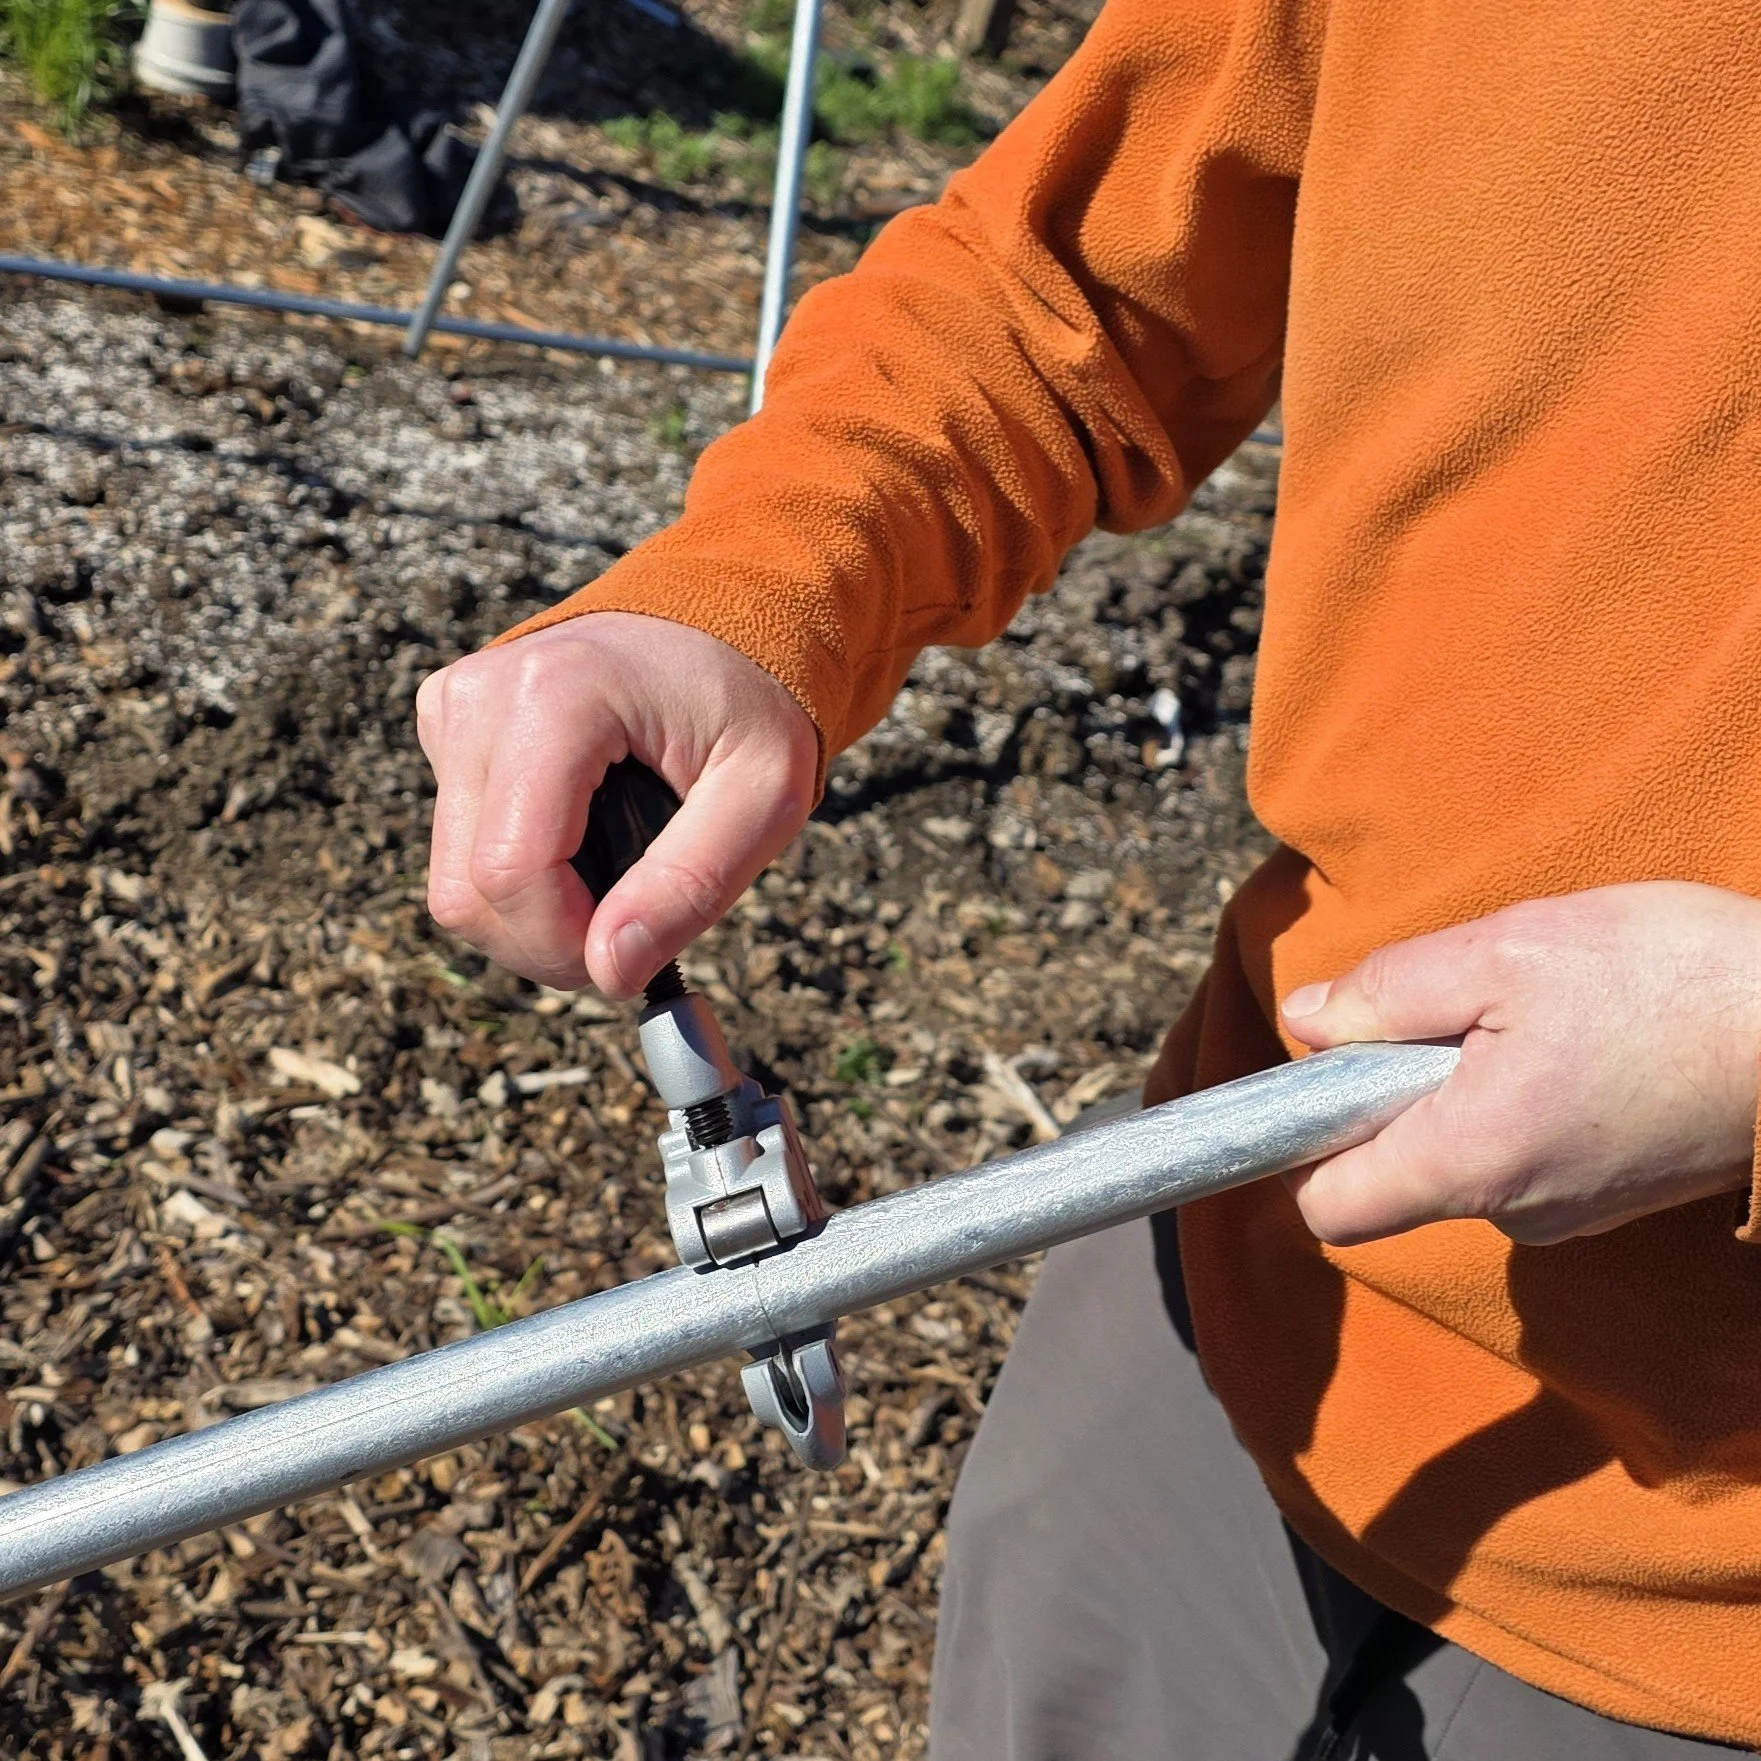
Step 5: Add the Horizontal EMTs and Fittings
The horizontal EMT lengths were added to the EMT legs with EMT Tee connectors. The connectors were placed loosely at first, then it was tightly secured with the hex tool once the trellis was leveled.
A 3/4” EMT coupling connected the two horizontal EMTs.
Step 6: Ready for Action!
Now is when the fun begins! It’s time to start daydreaming about climbing plants and adding accessories.
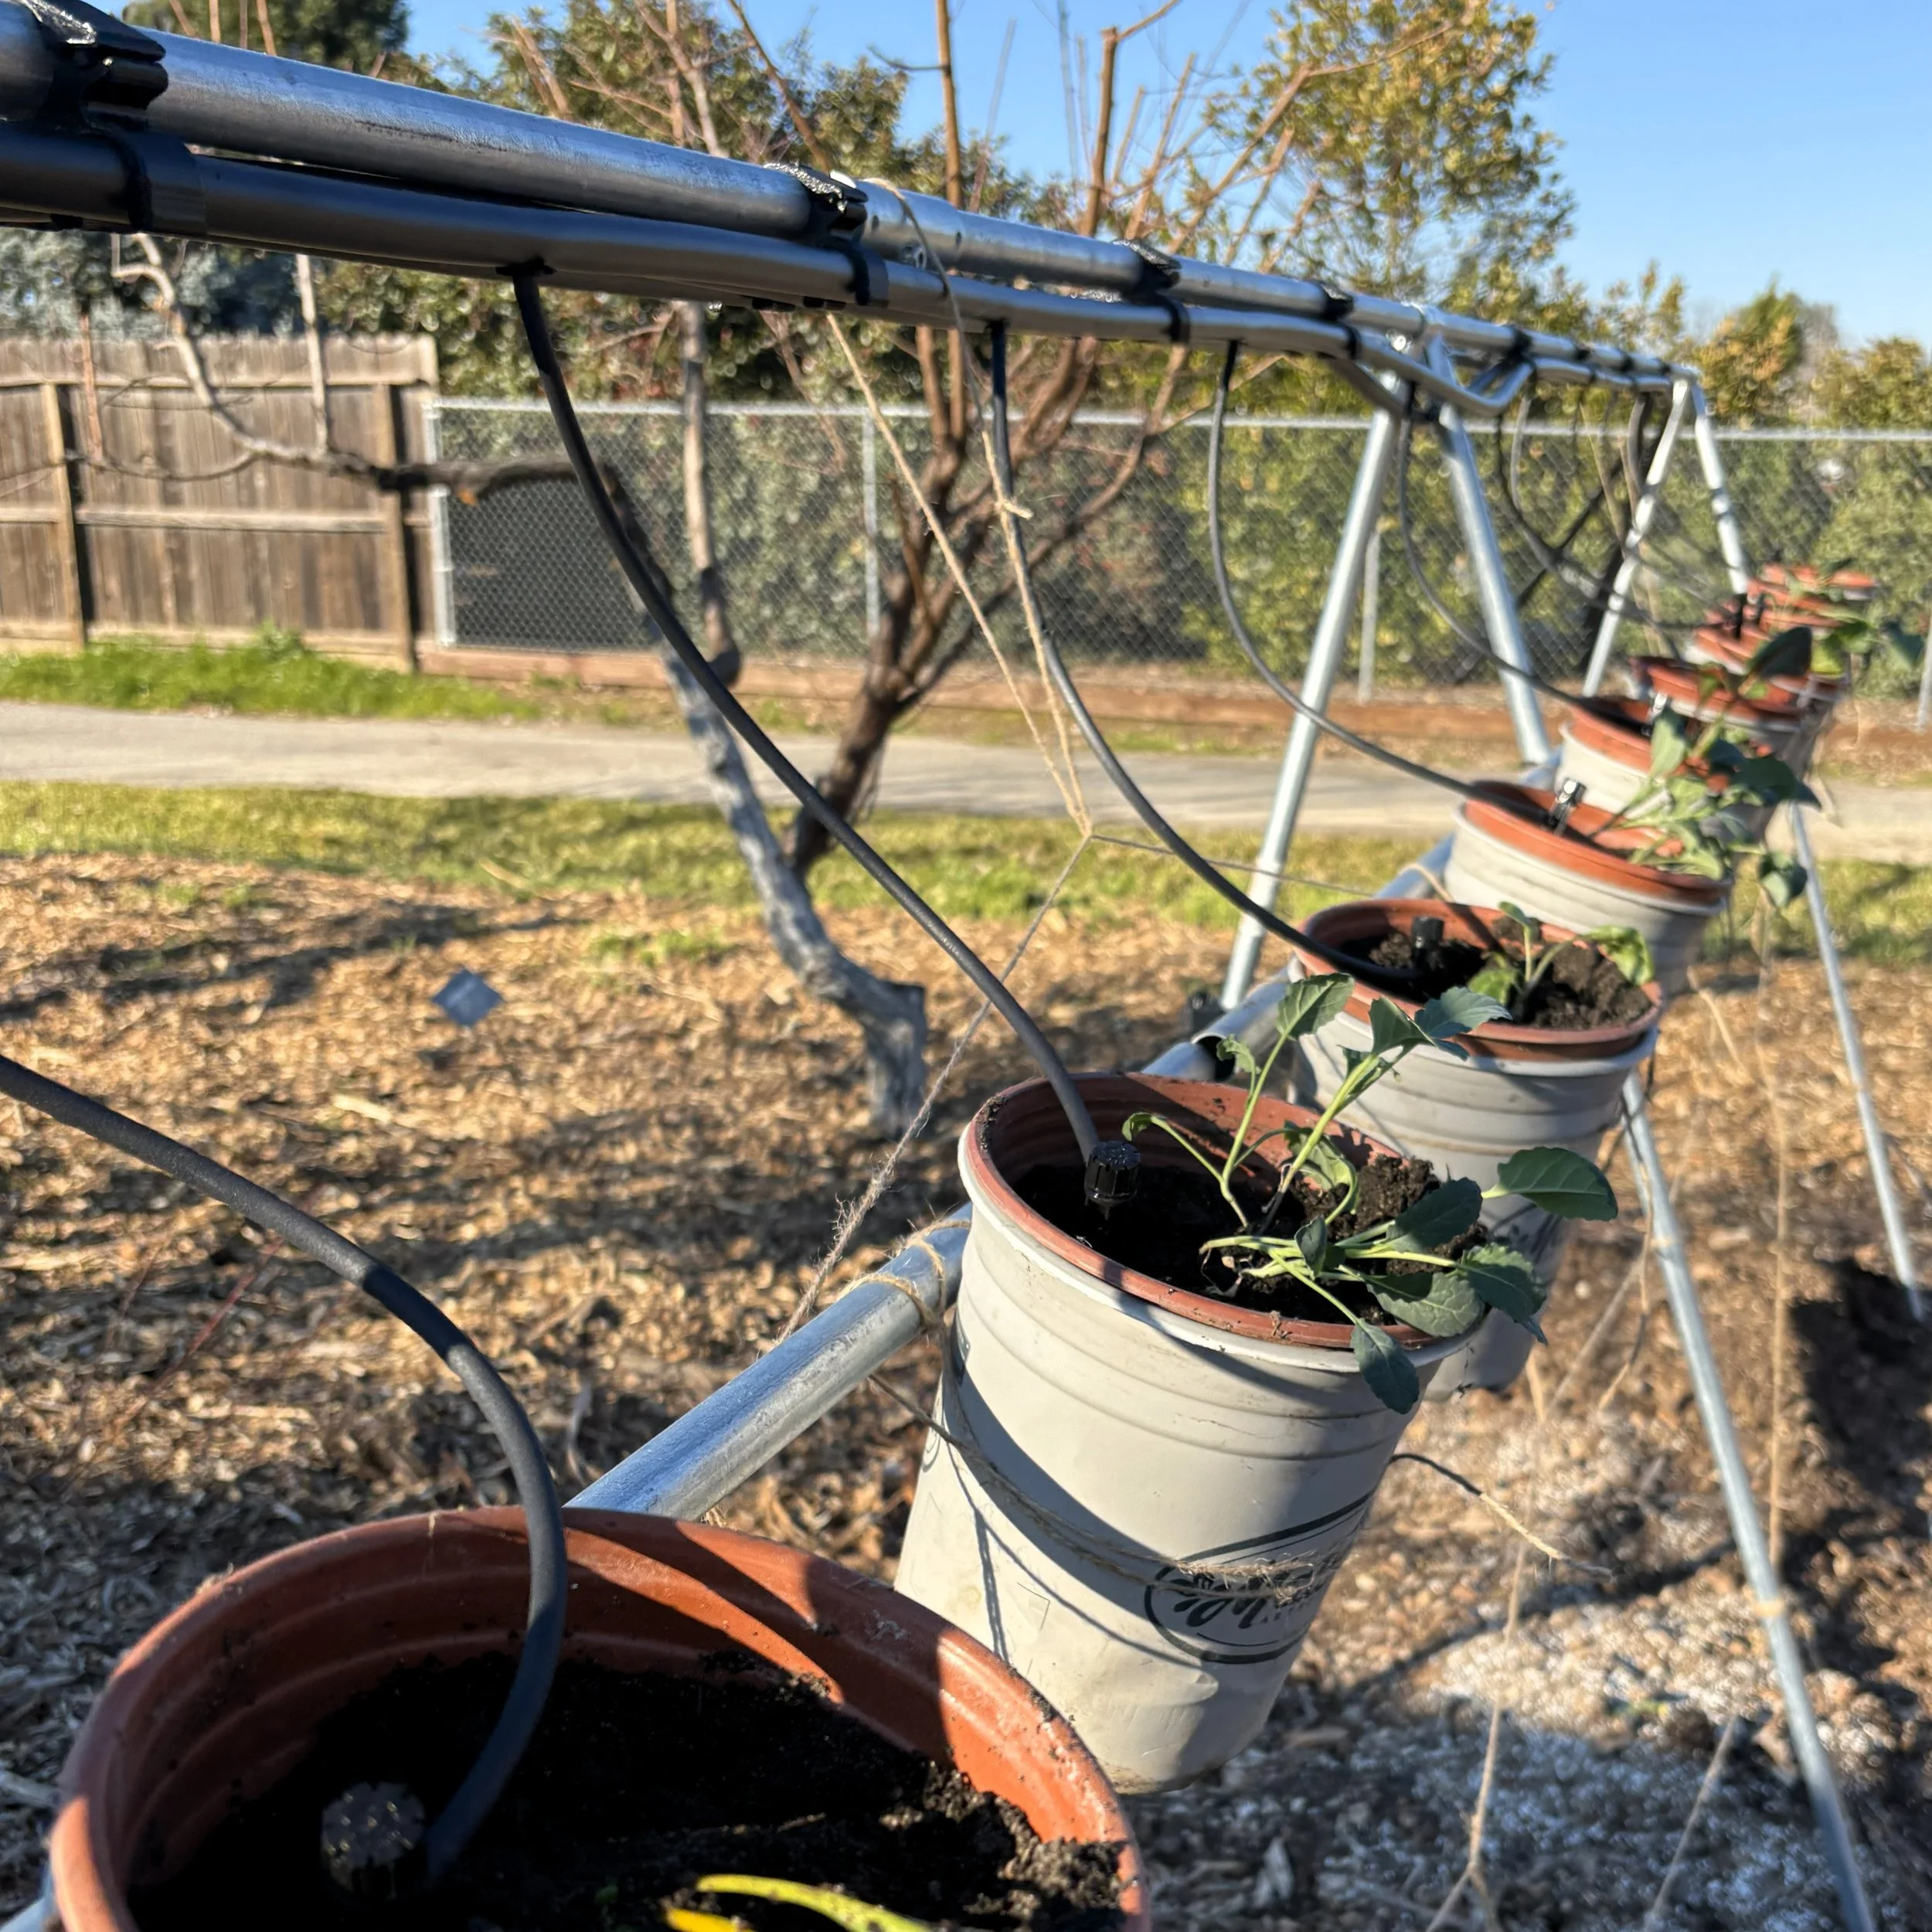
In Jan. 2026, This trellis was being used to grow seedlings in pots using SGT Irrigation Accessories.